

I’m sharing how I turned my 1999 Ford econoline camper van interior from bare bones to cozy, functional and practical. I want to help inspire you with your own camper van interior design ideas!
Get an up-close look at all of my van’s DIY storage spaces
Because remember the van life days when campervans were simple and covered your basic needs?
I’m talking about the days of Astro vans, Chevy Expresses and Ford Econoline van campers. Functional, low-maintenance vans that help you fulfill your van life dreams for a quarter of the price.
Some of these budget builds have the best DIY van interior designs–it shows that building your van is part of the van life journey.
Note: this post may contain Amazon Affiliate links
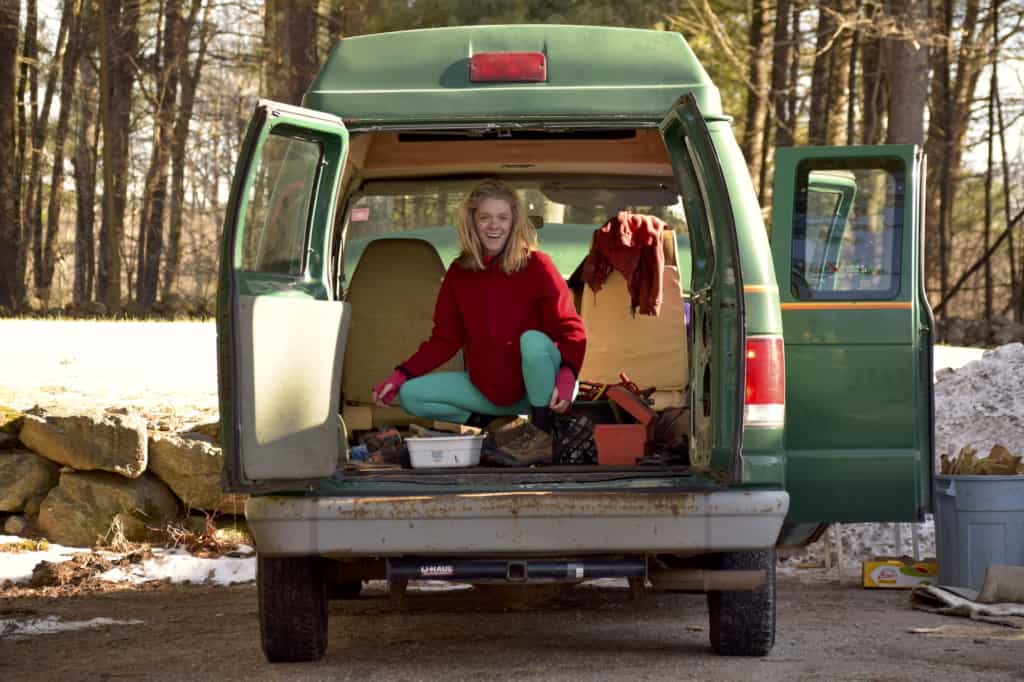
I bought this campervan at the end of 2019 from a woman who had been living in it full-time for a few months.
Initially, I saw the photos and loved the campervan layout. My two main goals were to spend under $10,000 on my van and get on the road as quickly as possible. This 1999 Ford Econoline was already built-out and had an asking price of $6,500–I was sold!
I expected to dish out a couple grand for mechanical fixes since it was an older van with higher mileage. But I didn’t expect to gut the whole campervan interior and spend 5 ½ months rebuilding it…
I ended up gutting my Ford econoline van camper for two reasons: safety and functionality. The previous van layout had lots of unsafe build features, where build parts weren’t secured properly and the furniture was very worn-out.
The van’s build didn’t have all the features I wanted for full-time van living, such as electricity and a “kitchenette”. So, off to gutting the van I went.
The new layout of my Ford E250 has the items I really wanted for full-time van living which includes:
I tried to re-use parts of the van build, as well as raid my parents’ basement of old lumber and appliances they weren’t going to use. I wanted to keep my van build costs as low as possible. Ultimately, the interior build cost me around $1,500.
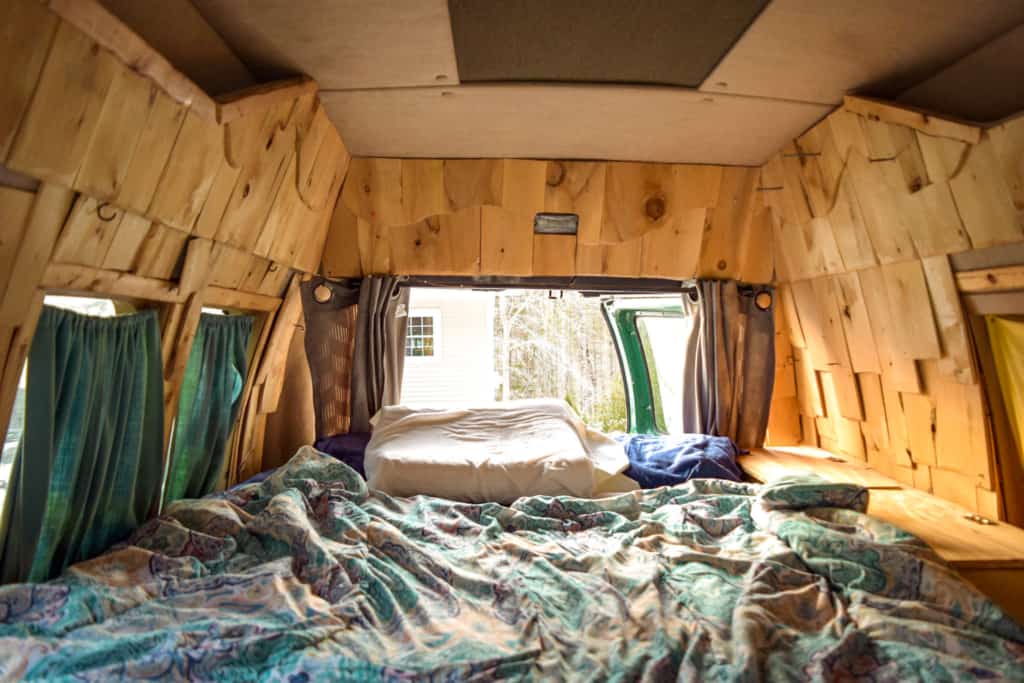
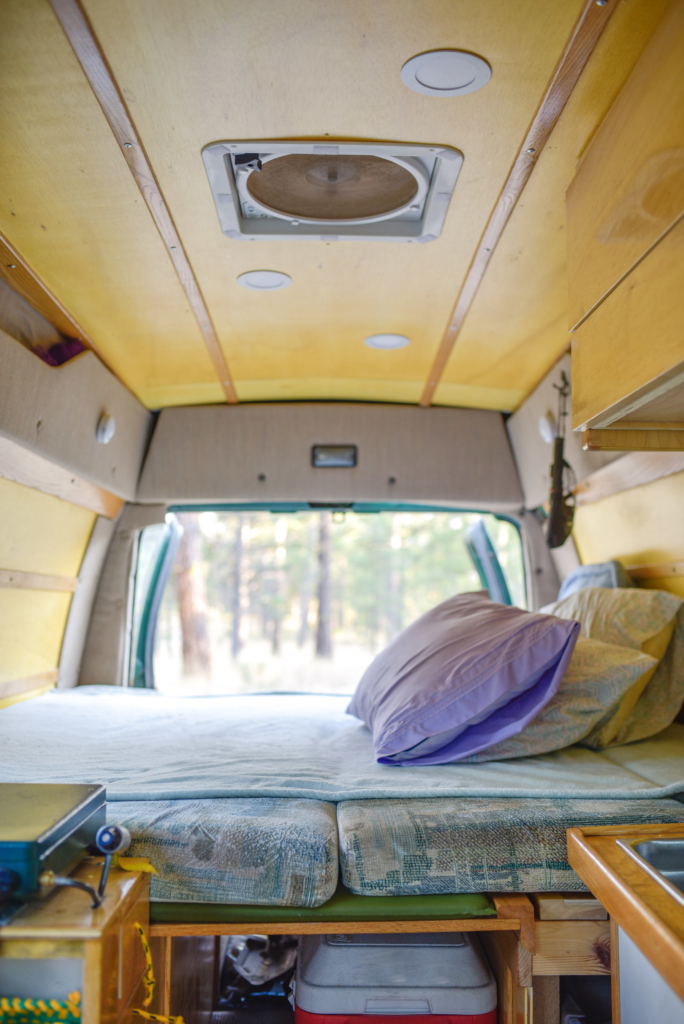
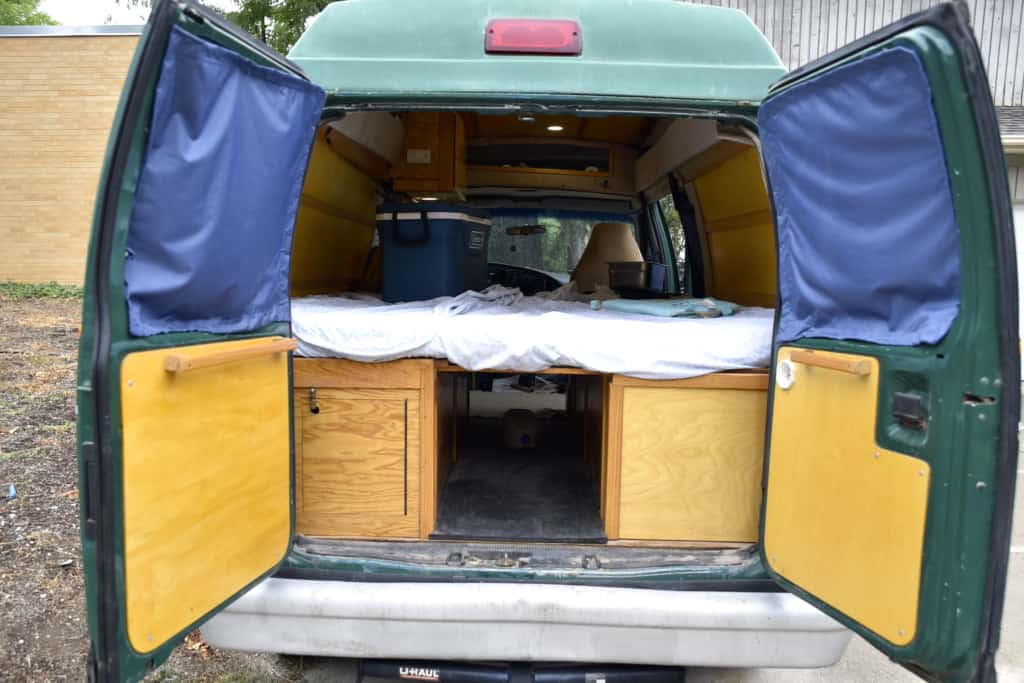
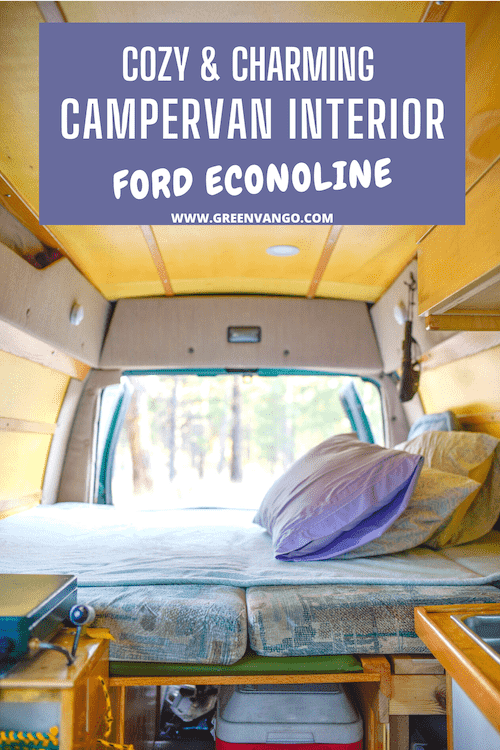
You can watch the very short video clip above to see how my bench-to-bed conversion is designed.
We used oak wood for the benches and slats. I found the seat cushions on Craigslist and they miraculously fit the width of the van perfectly. They were RV cushions that had barely been used (and thankfully stored indoors).
The dimensions of the van bed come out to be slightly bigger than a queen-size mattress. This is more than enough space for me– I wanted a bed that I could splay out in since I’m not a very sound sleeper!
The cushions are firm enough, and packed tightly enough, that I don’t feel like crevices between them when lying down. You definitely want a snug-fitting cushion setup if you do a bench-to-bed conversion.
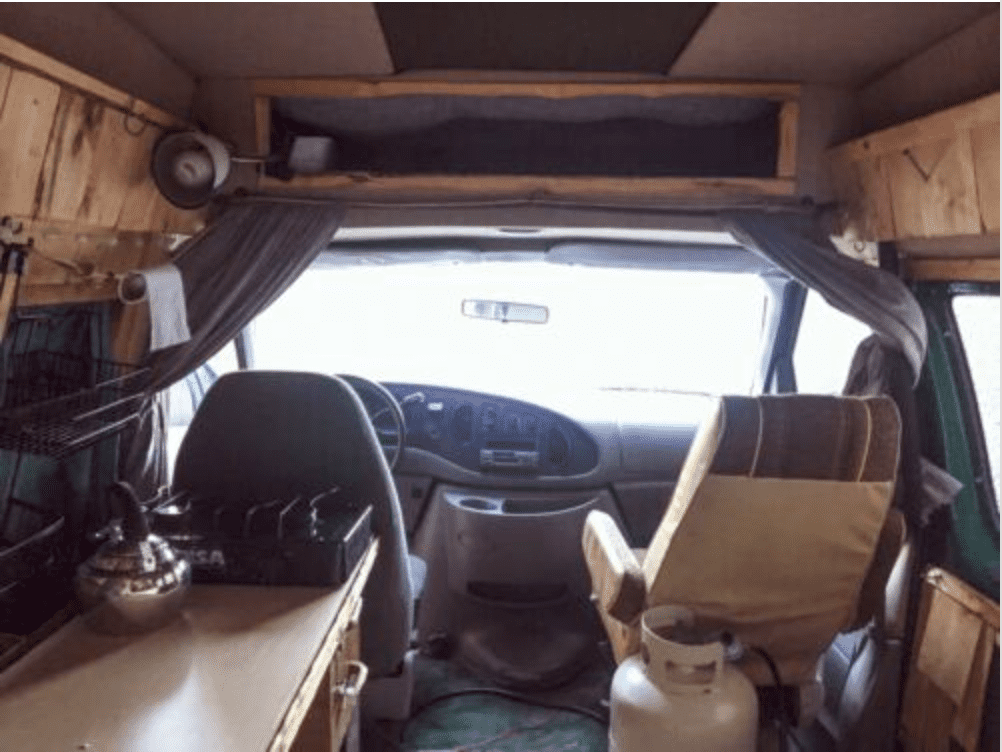
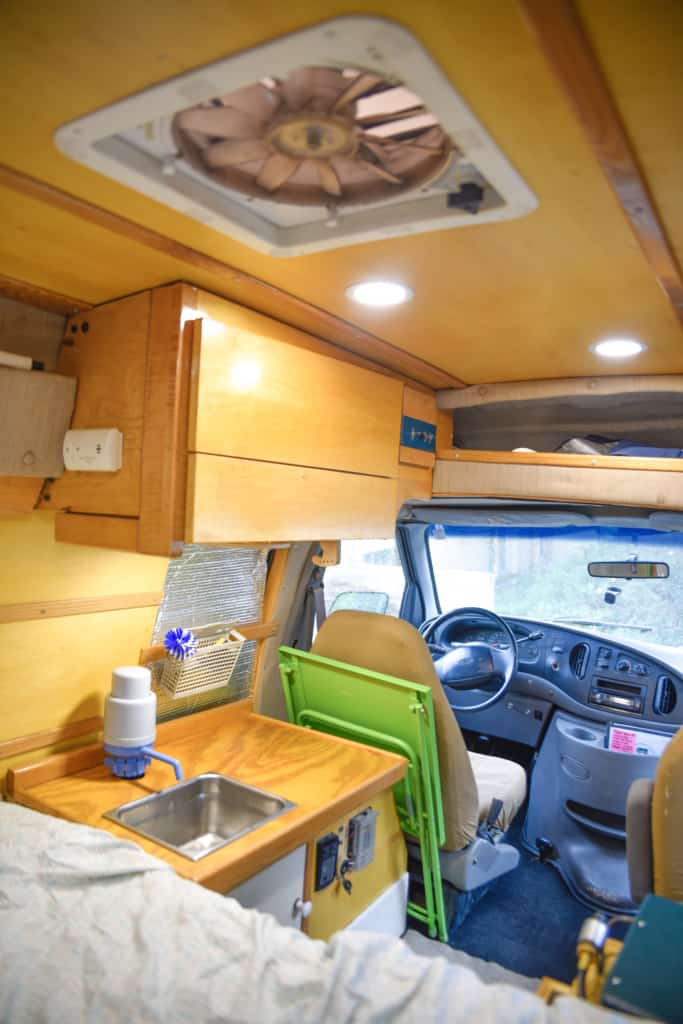
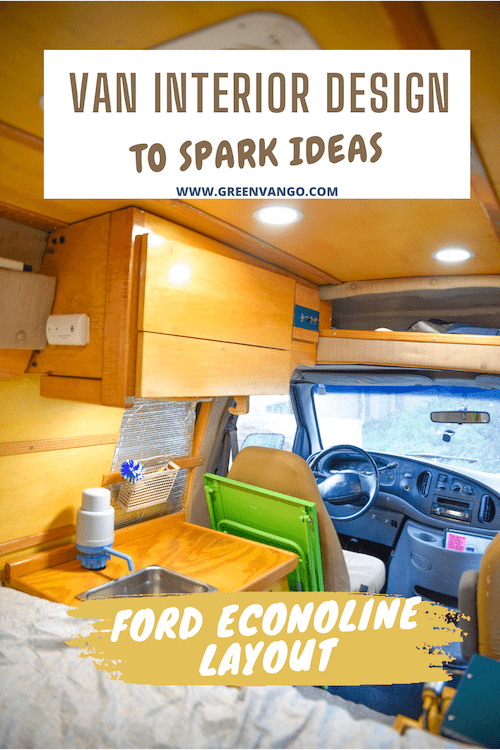
We used scrap lumber from my parents’ garage to make the small “kitchen table” in the picture above.
The metal sink was a random sink lying around my parents’ basement. The water hand pump (and 5 gallon water jug underneath the table) came with the previous owner’s build.
You can see the inverter coming out of the lower side of the kitchen table. It’s attached to two deep-cycle batteries underneath the table. The inverter isn’t very efficient, but it came with the previous build and is a decent power source.
The cabinet hanging above the sink was made by the dad of my childhood friend, who is an amazing carpenter. We really lucked out with that because it provided storage space in an area that I otherwise couldn’t do anything with.
My camp stove is a simple, inexpensive Coleman two-burner propane stove that I bought at Walmart.
We removed the propane tank attachment hose and replaced it with one that can attach to larger propane tanks (instead of the small green ones). I didn’t want to deal with constantly changing out the small green tanks!
As you can see in the photo above, the propane tank is secured to the interior wall of the van, underneath one of the benches.
The camp stove is secured to what we named the “kitchen tower”. The kitchen tower has drawers that can open from either inside or outside of the van. Very convenient for storing cookware!
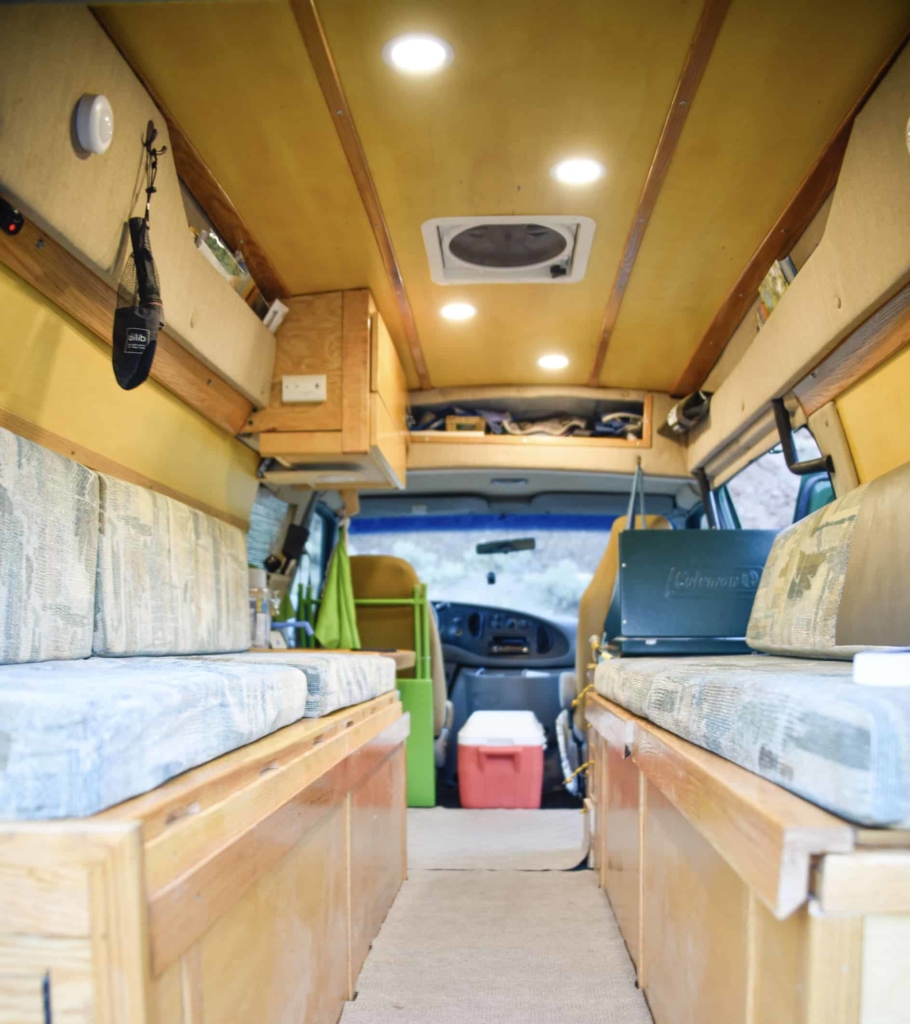
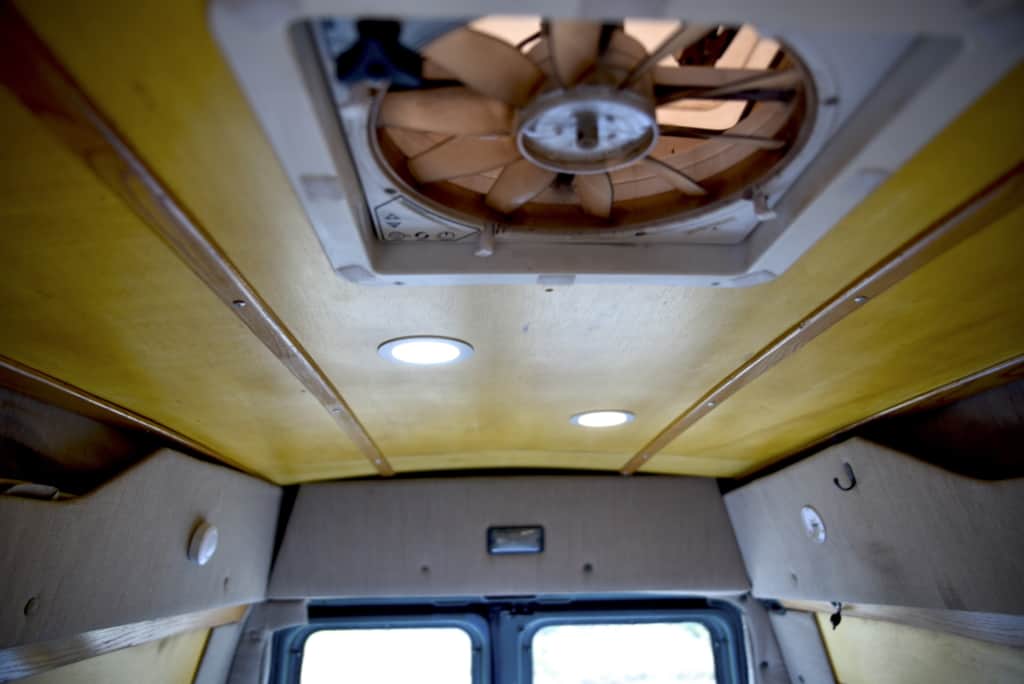
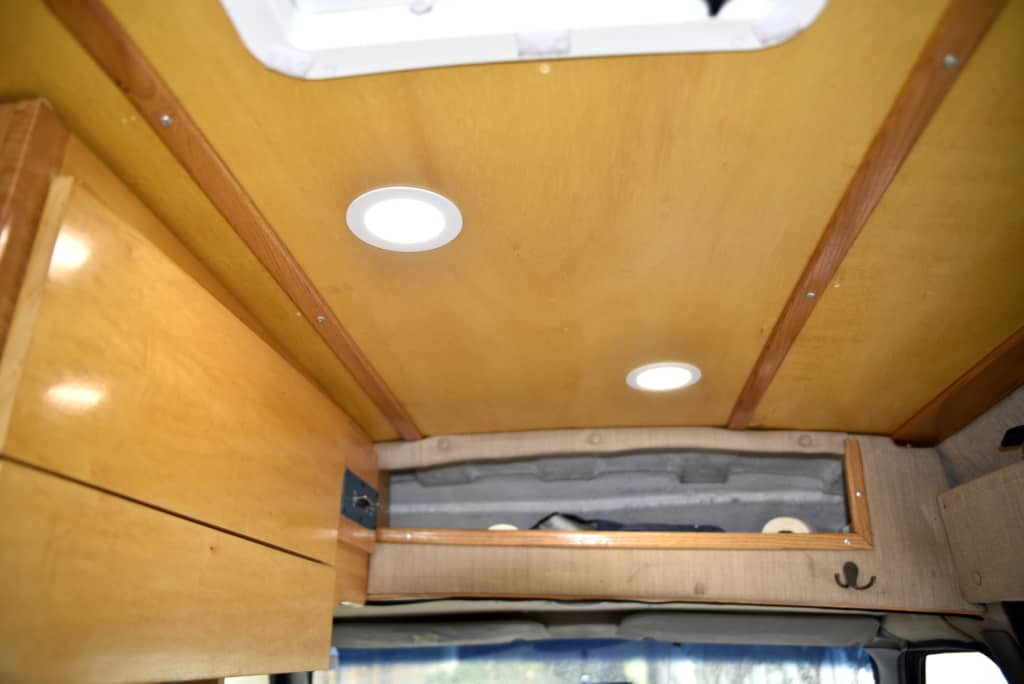
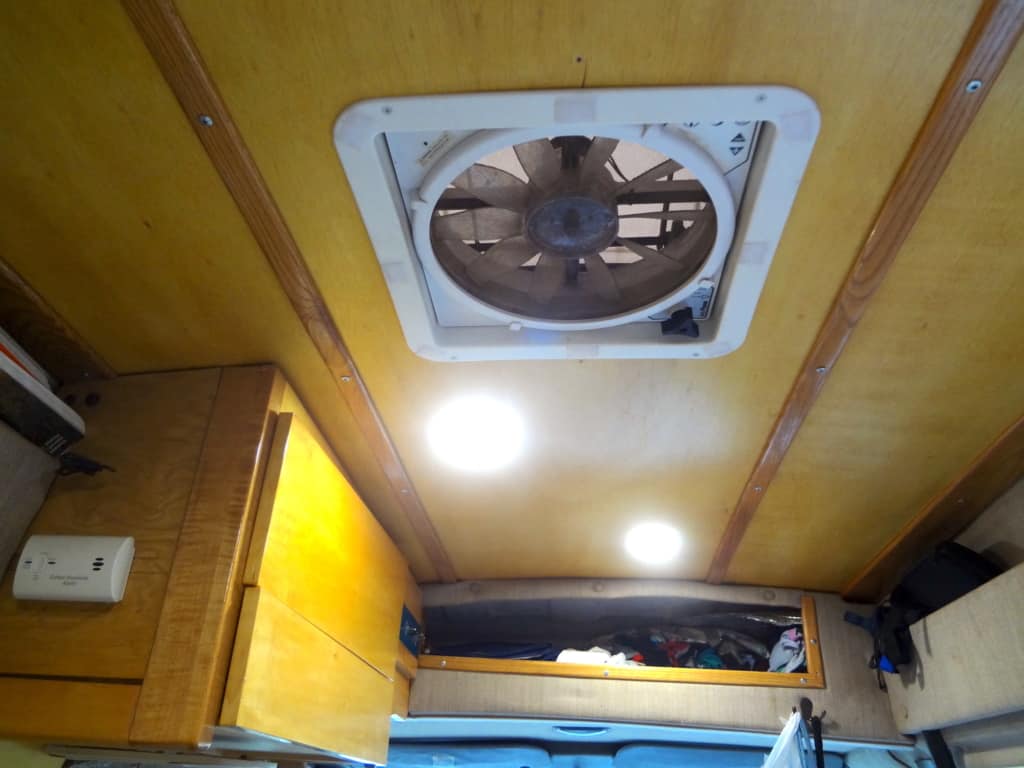
We used recessed ceiling lights that are technically for RVs and boats, but they were the perfect fit for my van!
Super lightweight, smooth along the ceiling, and providing a whopping 480 Lumen LED light. These bad boys are BRIGHT–and that’s exactly what I wanted.
I’ve spent too many nights camping with weak headlamps or flickering lanterns to know how annoying low lighting can be. I wanted lighting in the van to be bright, and everywhere.
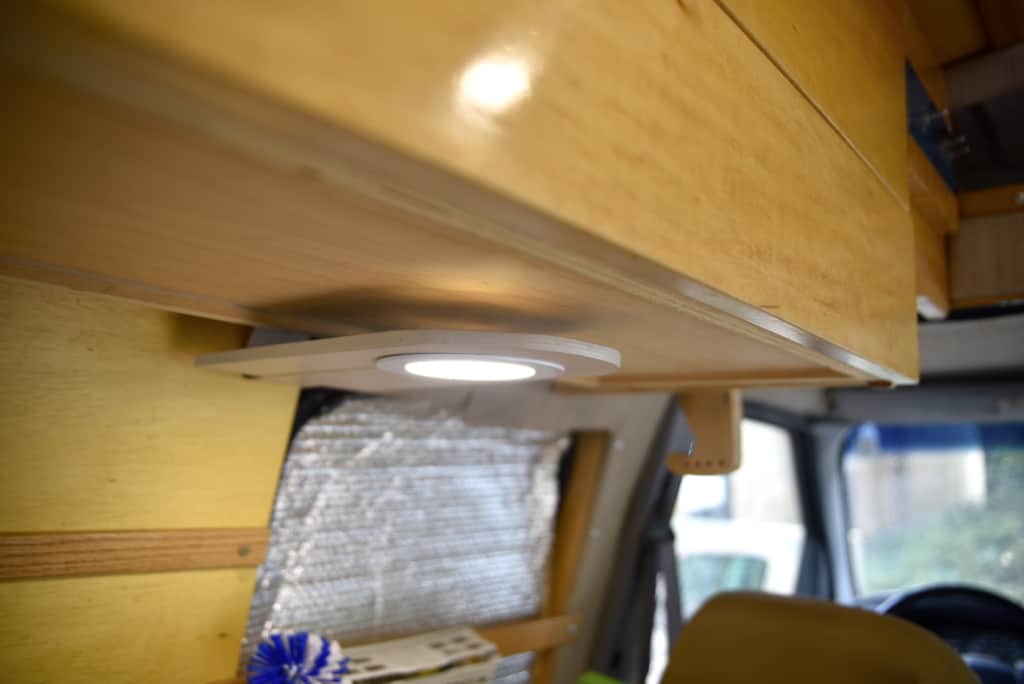
This ceiling light is attached to my upper kitchen cabinet and provides light on to my kitchen table and sink.
It’s another one of the recessed ceiling lights, but it’s built into a thin piece of wood that sort of “floats”. This was intentional because we wanted the light to be able to move as needed, since the van would cause a lot of motion and vibrations.
I use this light all of the time because it’s still super bright but subtle enough to use when watching movies or just getting ready for bed in the evenings.
Although it’s one of the most expensive ceiling fans on the market, I splurged on the Maxxair ceiling fan because it seems to easily outperform other ceiling fans (you can read my full review on the Maxxair here).
I love my ceiling fan. Use it every day and night to either cool down the van, get rid of cooking smells, make white noise while sleeping in a noisy place, “vacuum” little gnats out…it’s useful for a lot of things.
The bench-to-bed conversion allows me to store things inside the benches, as well as between them.
I’ll be honest–storing things inside the benches is a pain in the butt to access because I usually just keep the bed in “bed” mode. But, it’s great storage for emergency items or extra supplies or clothing you may need. Things that you don’t need to frequently access.
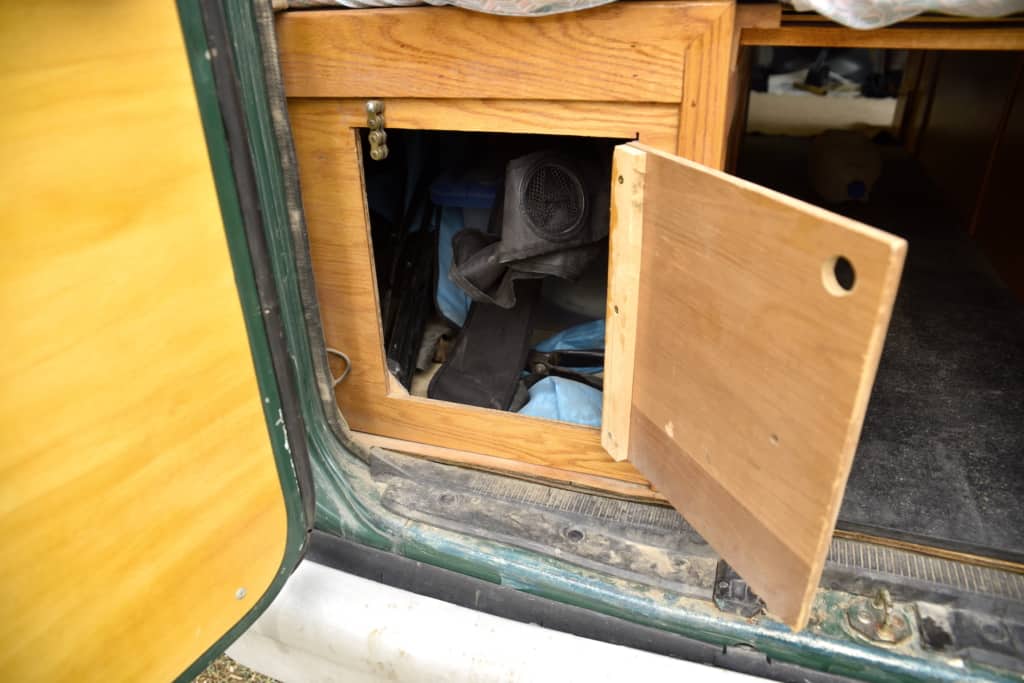
This simple door we built into this side of one of the benches makes accessing items so much easier!
We used an old piano hinge as the door’s hinge and a piece of dirt bike chain as the “lock” that holds the door shut.
I store my camp chairs, portable toilet and solar panels in this bench because I frequently use those when boondocking. This layout also helps keep down the dust and dirt because these items typically get dirty outside, but I just throw them into this bench door and contain the mess!
I challenge you to think long and hard about every “convenience” feature you want in your own Ford econoline campervan interior. Consider how you already live and what conveniences you think you MUST have on the road.
*BONUS*: If you are looking to do your own DIY van build but aren’t sure where to start or how to stay on budget, I recommend investing in the Van Life Academy online courses. You get lifetime access for $97–where 6 different van build experts walk you through every aspect of the van build, on 6 different makes/models of vans, and provide money-saving tips and even shopping lists. So there’s no guessing on what you need and then wasting money.
Check out these other small van interior ideas from my van life friends. Their custom, DIY builds are done on a budget while still capturing each of their styles and needs.