

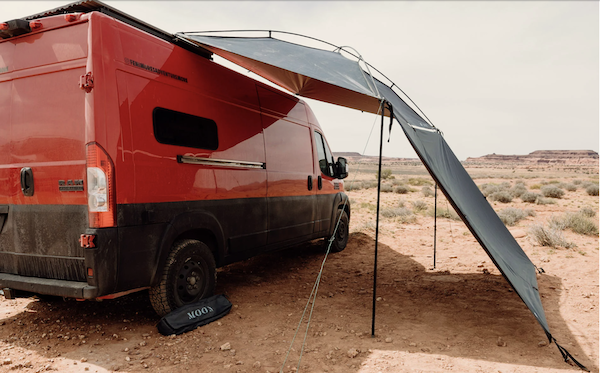
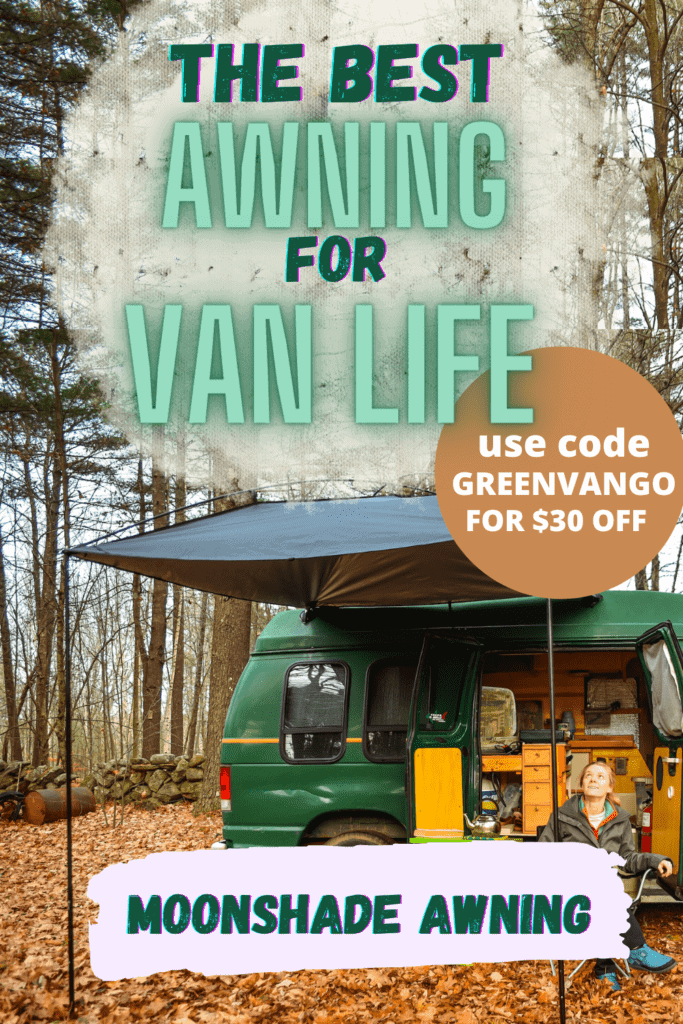
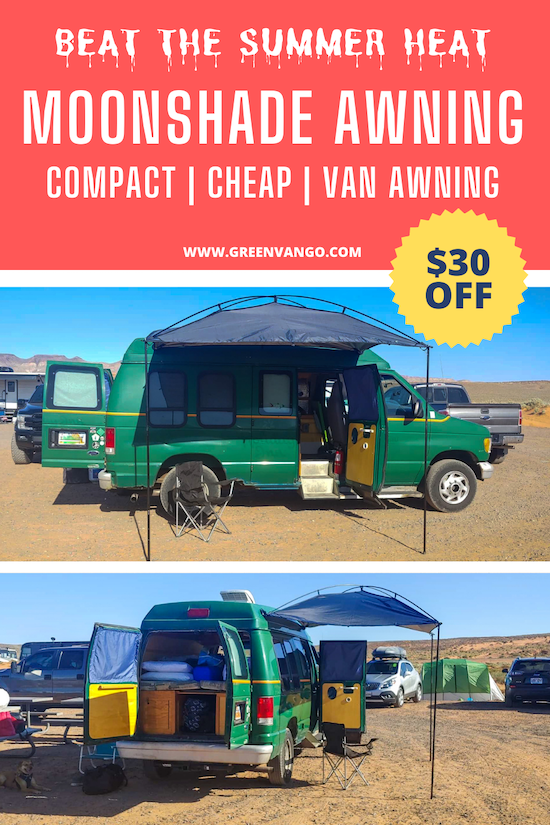
The MoonShade is a 9’ x 7’ portable awning that can be used on nearly any overlanding vehicle to provide shade or protection from outdoor elements. This portable awning doesn’t live on the outside of your vehicle but instead packs up tight after each use. Its stowed size specs are 28” x 6” and it weighs eight pounds.
I didn’t think I needed a van awning for the first year living on the road. But then…
There were days I couldn’t work on my laptop outside due to sun glare, or I’d sweat up a storm and hide inside my van while exhibiting it in hot parking lots at festivals. I was spending too much time trying to stay cool in my van or run from bad weather.
While doing research, the DIY van awnings looked complicated and I wasn’t confident they’d work with my fiberglass roof. I also didn’t want a van awning that permanently stayed on the outside of my van in case it broke, was stolen or made it obvious I lived in the van. But the store-bought awnings were very expensive, some up to $2,300!
Then I started seeing other van dwellers using the MoonShade awning on social media. I was intrigued because it was lightweight, portable, seemingly easy to set up, and with a fairly reasonable price tag of $395.
Note: I am a partner with MoonFab and this post may contain affiliate links. I only partner with brands whose mission and production process I support.
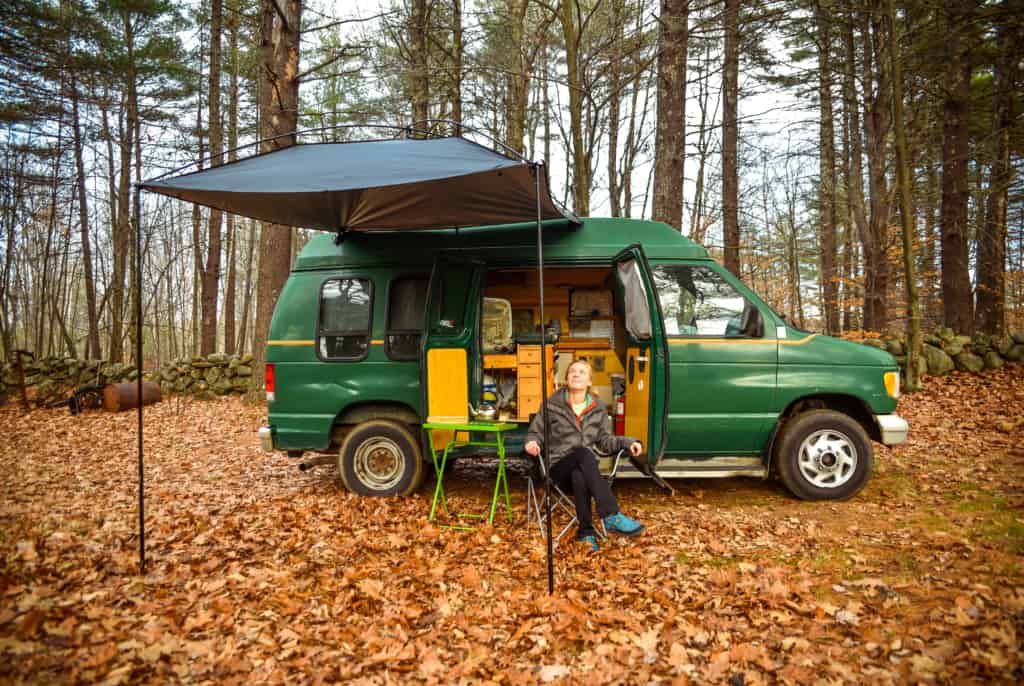
I now have a MoonShade awning and it’s like having a portable outdoor living room at my convenience!
From my experience, the MoonShade has delivered on everything it promises by being an easy-to-setup, versatile, portable van awning for travelers on a budget. Its packable size takes up minimal space inside my van and, with an under-ten-minute solo set up time, I don’t know what could beat that.
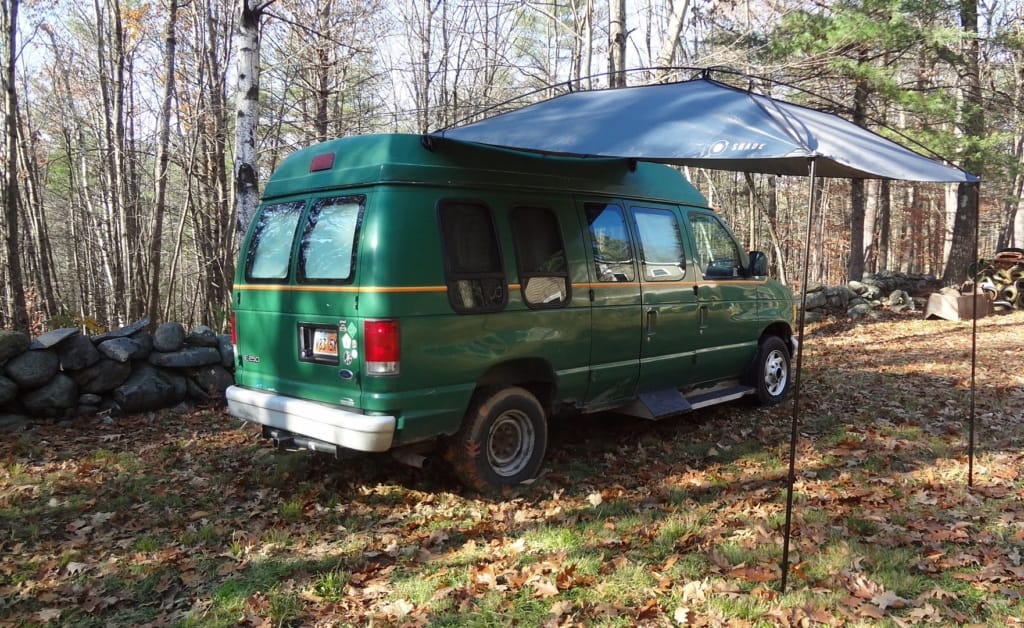
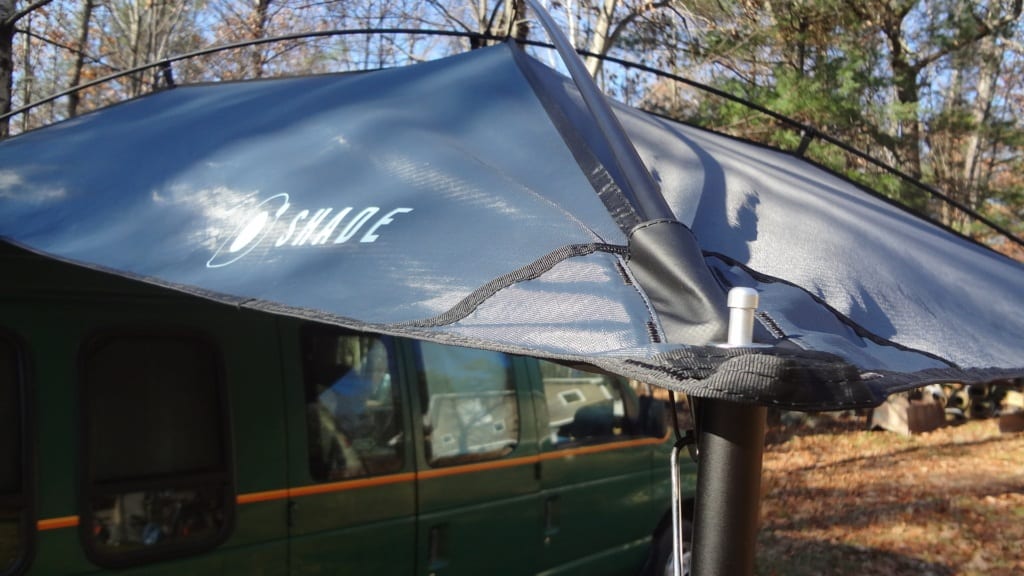
This awning is made of lightweight material, ripstop polyester with built-in UV sun protection and reflective coating. The polyester webbing gives the lightweight material a heavy-duty quality–I put that to the test once when a big gust of wind launched the awning above my van (but the suction cup anchors kept it in place!) but, the whole tent bent up onto my van’s roof (I hadn’t put down the guylines yet). I was so pleased that not only was there no rip in the material; there wasn’t even “proof” that it had happened.
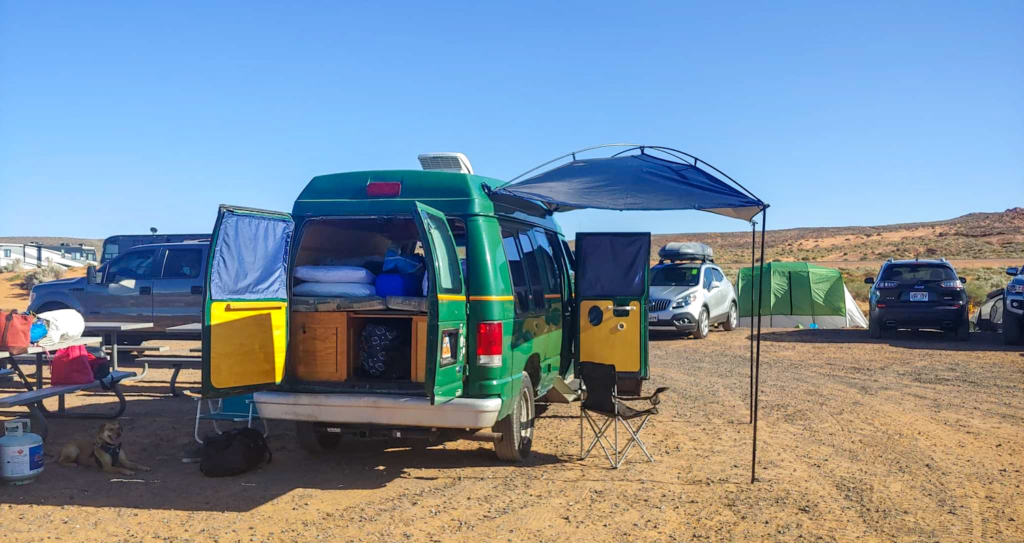
The awning also comes with two telescoping aluminum support poles that can be adjusted to nearly any height–which makes this awning great for car camping as well.
It took me all of 8 minutes and 52 seconds to set up, my second time ever using it! What took me the longest was attaching the aluminum tension poles to the corner pockets of the awning. It was similar to setting up a tent, where the pole has to be bent a lot to secure it into the hole. Overall, I found it intuitive and was able to do the full setup on my own.
1. Attach the anchors to your rig (or tree, fence, whatever you prefer). The MoonShade comes with two big suction cup anchors. Other anchor types are available separately.
2. (Optional) Attach strut pole if your rig (or whatever you’re attaching the awning to) is narrower than the awning itself. The awning is 7 feet wide, so if your rig is narrower than that, the strut pole will allow the awning to stretch out at its full length.
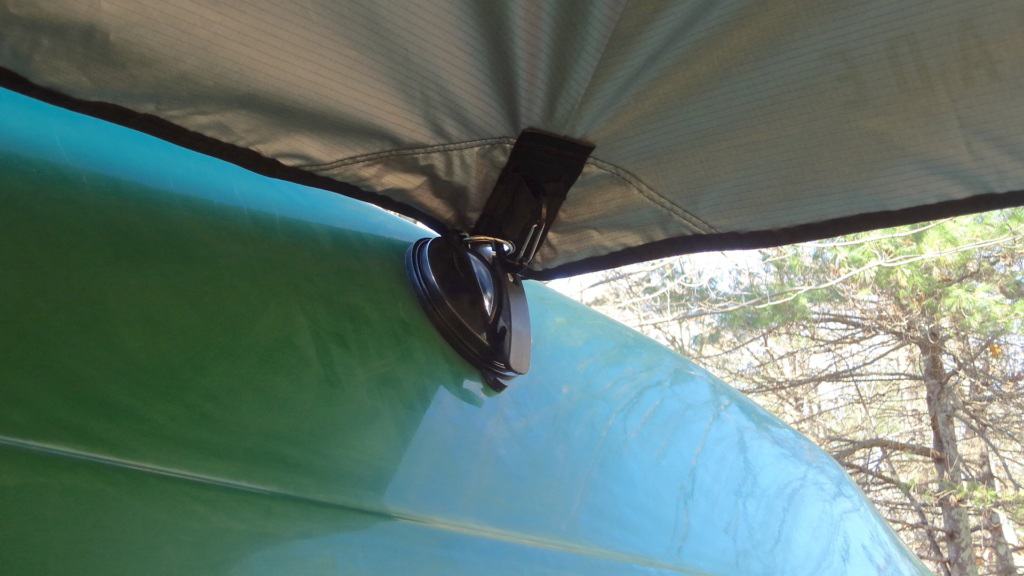
3. Clip shade to anchors by attaching the shade’s corner carabiners to the anchors’ hooks.
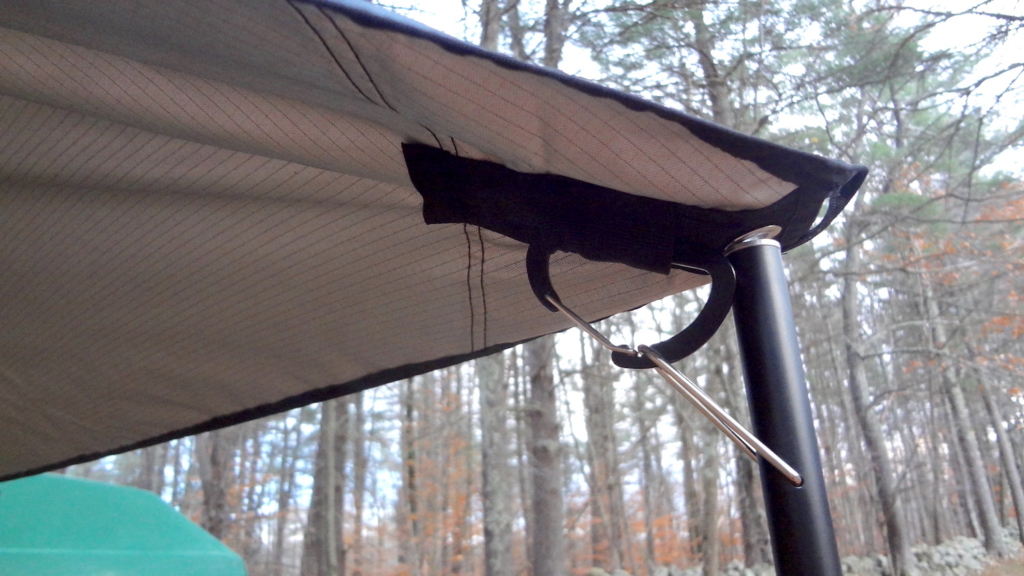
4. Assemble the tension poles then connect them to the shade diagonally. Secure them in the corner pockets and clip them into the plastic hooks attached to the shade.
5. Assemble support poles then insert ends into the shade’s corner grommets.
6. Clip the corner carabiners to the hooks on the support poles.
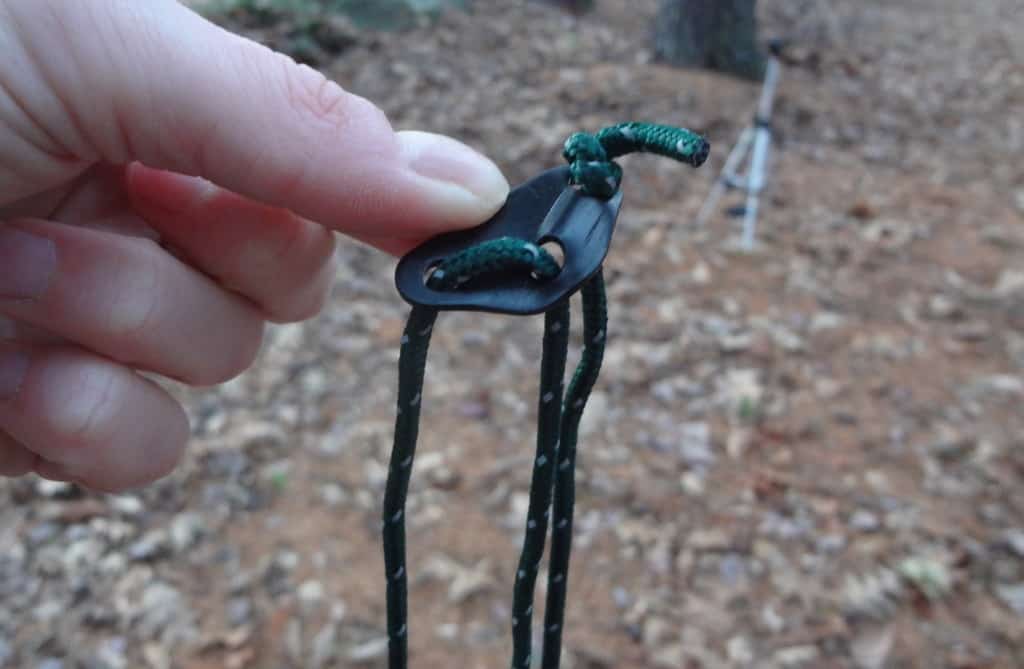
7. Attach the guylines to the front corners of the shade.
8. Stake and secure guylines by attaching the guylines to the stakes provided and inserting the stakes into the ground.
Each MoonShade awning package comes with:
The MoonWall is an add-on feature and comes in two different sizes:
The MoonWall not only provides extra privacy on-the-go, but it also amplifies the amount of shade you get throughout the day.
Instead of rotating your MoonShade awning every hour or so to adjust to the sun, the MoonWall lets you stay put for much longer.
The MoonShade can act as a magnetic van awning, a suction cup van awning, or pretty much any type of anchor point you want. Unfortunately, the included suction cup anchors don’t work with all rigs. This is usually because the roof of the rig is a type of material that the suction can’t adhere to, or there’s a roof rack or solar panels in the way. Fortunately, MoonFab offers different anchor types to solve this, including:
I was very excited to learn that the big suction cups worked on my van. Otherwise, I would’ve used the adhesive anchors–which is okay but I didn’t want to permanently leave the hooks on.
The Moonshade van awning is water-resistant thanks to its 420D ripstop polyester material, but technically it isn’t waterproof.
The rain will naturally bead and slide off of the awning, away from what’s directly below it–think of it as a huge umbrella.
Mark the placement of the anchors on your rig to make every setup go faster. After measuring 7 feet across my van roof, I used a permanent marker to make a very tiny dot where the suction cups go. This way, I know exactly where to place them every time I suction them to the van.
Warm and wet the suction cups if using them as your anchor attachment. I set up my awning on a forty-degree day and found that wiping off the area in which they’d stay, warming them up in my hands, and using a wet paper towel on their suction side, made for the most secure suction.
Secure the “bottom” tension pole before the “top” one. When attaching the tension poles, they criss-cross over each other at the center of the awning. I found them easier to secure when I slid the pole on the bottom of the criss-cross into its corner pocket before the top pole. This created less tension on each pole when sliding them into place.
2 Comments
Kurt Thomas
So I have Ram Promaster and bought the MoonShade last year and have used it about 4 times. The first time I used the magnets (no rubber booties) and a small bit of wind pulled those off. So I bought the VHB bonded mounts for my next outing. Well, the VHB came apart from the mounting disk and stayed stuck to my van, ugh. Oh and not even a bit of wind on that trip.
. I got a technician in the chat since they don’t (or I can’t find) a phone number to call, they sent me two new VHB disks. The next trip to the same location, no wind and POP the other disk popped off now, I’m like really, seriously 😒. Back to email, online contact form and chat. 3.5 days later I get an email asking me how to handle this. Hmmmm. So, I asked for replacement mounts since the first set did not stick to themselves, but they sure stuck the adhesive to my van. I guess we will see how they work my request and in the meantime, I’ll be out peeling adhesive VHB off my roof.
jay bailey
How about a model of the Moon Shade for the back-end dimensions of a van etc. We cook out of the back end of our van on a slide out. An awning to cover this area for rain and sun protection would be great.